Overview
Sometimes you need to schedule the creation of a conversation for a future date. Unfortunately, Kayako doesn’t support the scheduling of the conversions or tickets. However, there is a free third-party solution. You can connect Kayako to Microsoft Outlook or to Google Calendar with Zapier and trigger conversation creation on the calendar event start. Zapier is an app integration service that lets you automate many things through the integration of Kayako with over 2000 apps.
There might be cases when you need to automate conversation creation on a certain date. Let's say the expiration of certificates. There is no direct way to do this in Kayako, but you always can create an event in your calendar and use it as a trigger of conversation creation in Kayako. You just need to configure a proper Zap in Zapier. We recommend you go through the Connecting Kayako to Other Apps with Zapier article to get a quick rundown on how Zapier works.
In this article, we’ll give you a description of how to connect Kayako to your calendar.
Prerequisite
- You'll need to have the credentials for a user account in Kayako with at least agent privileges in order to authorize the Kayako app from Zapier.
- An active Zapier account.
- An active Office 365 or Google account with scheduled calendar events that you will use as a trigger.
Solution
Microsoft Office 365 Integration
-
Log into your Zapier account.
-
Open Microsoft Outlook + Kayako Integrations link.
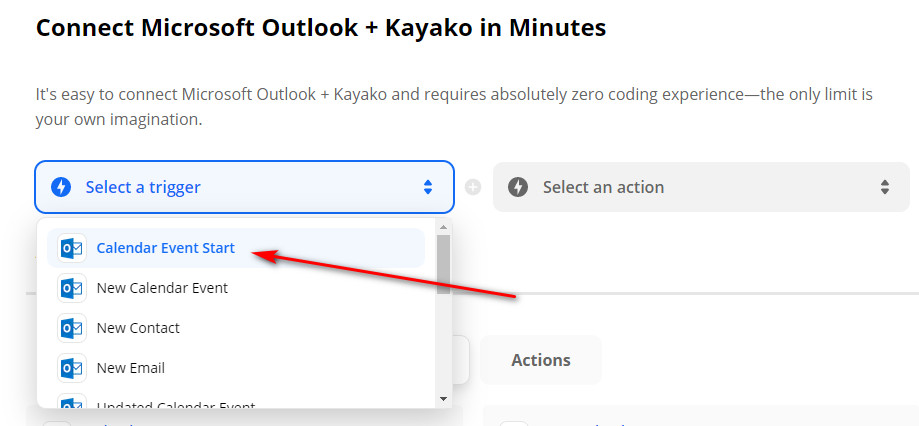
- Select from the drop-down menu Calendar Even Start as a trigger event in Outlook Calendar.
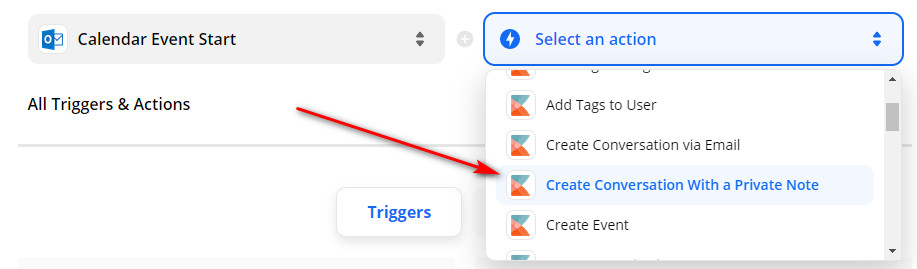
- Select from the drop-down menu Create Conversation With a Private Note as an action in Kayako.
- Click Connect Microsoft Outlook + Kayako.

- You will see two panels named Trigger and Action. First, you need to configure a Trigger event. If this is your first time using Microsoft Outlook in a Zap, you'll need to click Sign in to Microsoft Outlook. If not, then proceed to step 9.

- Enter your Microsoft Outlook credentials.
- Once connected, it will take you back to the same screen in step 6 but this time with the CONTINUE button instead of the Sign in to Microsoft Outlook button. Click CONTINUE.
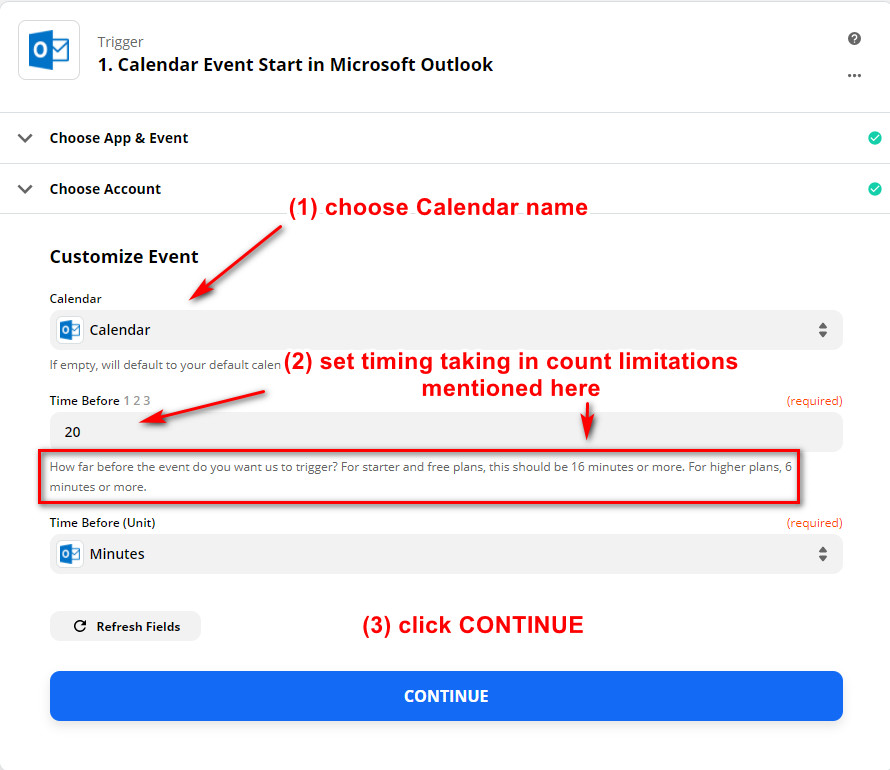
- On the next screen, you need to customize your event. Choose Calendar name you want to use, and set how far before the event do you want Zapier to trigger.
NOTE: Pay attention to the time limitation that Zapier defines in different plans. For starter and free plans, this should be 16 minutes or more. For higher plans, 6 minutes or more.
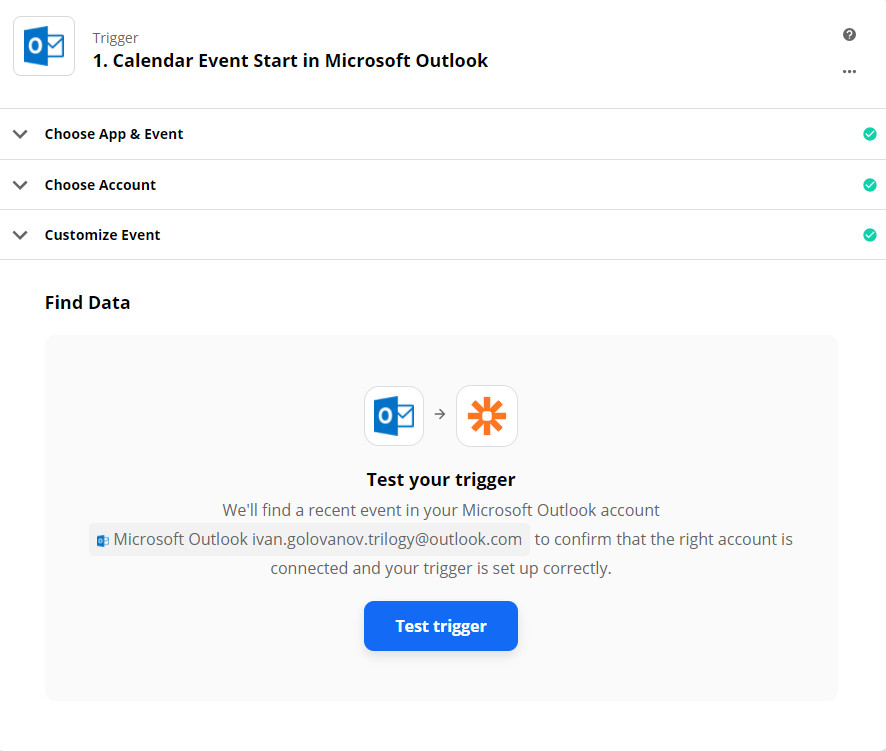
- The next window will ask you to test the trigger. Click Test trigger.
NOTE: If it has trouble connecting such as returning an "authentication failed" error, check the email and password you entered and make sure you are entering your Microsoft Outlook login credentials.
- If the test is successful, it would tell you that it found a conversation. From there, click the Continue button.
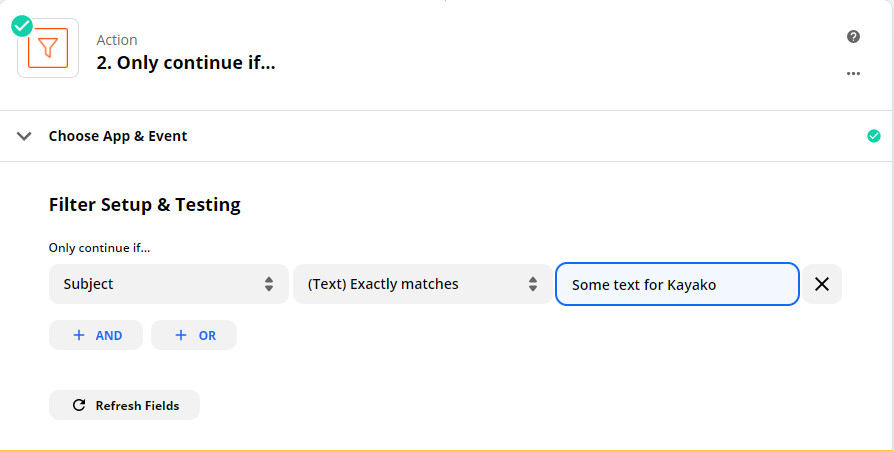
- Optionally you can add some filters to limit which even should trigger the creation of conversation.
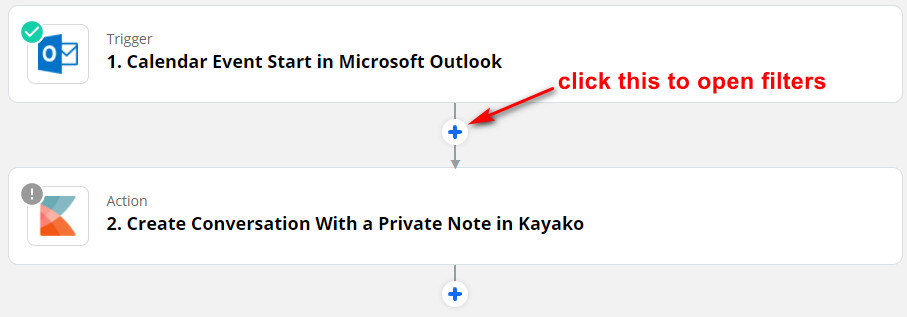
- For example filter by exact text in the subject as it is shown on the next screen.
- Now you need to configure triggered action in Kayako. Open Action panel. If this is your first time using Kayako in a Zap, you'll need to click Sign in to Kayako. If not, then proceed to step 17.
- Enter your Kayako credentials and domain name
yourdomain.kayako.com(replacing yourdomain with the configured name or domain for your Kayako instance), and the Kayako credentials (email address and password used to connect to Kayako). Then click 'Yes, Continue'.
NOTE: Two-factor authentication will not allow you to connect to Kayako. If you have it enabled on this Kayako user account, you need to disable it before you continue.
- Once connected, it will take you back to the same screen in step 14 but this time with the CONTINUE button instead of the Sign in to Kayako button. Click CONTINUE.
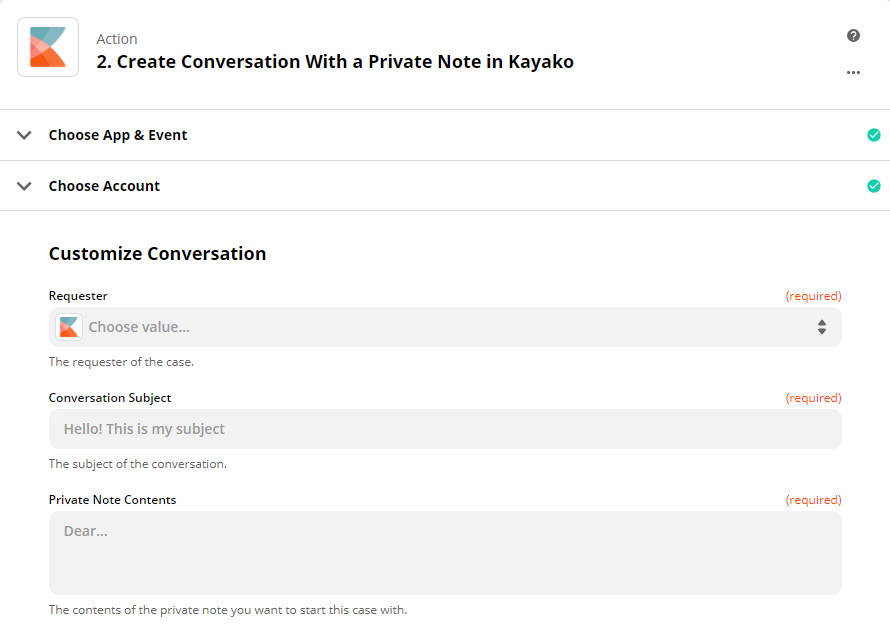
- On the next screen, you need to customize the conversation. It is mandatory to choose the requester name from the list, conversation subject, and type the text of the future private note. Additionally, you can add other customization such as assignee, status, tags, or even your Kayako custom fields values. To finish customization click Done Editing.
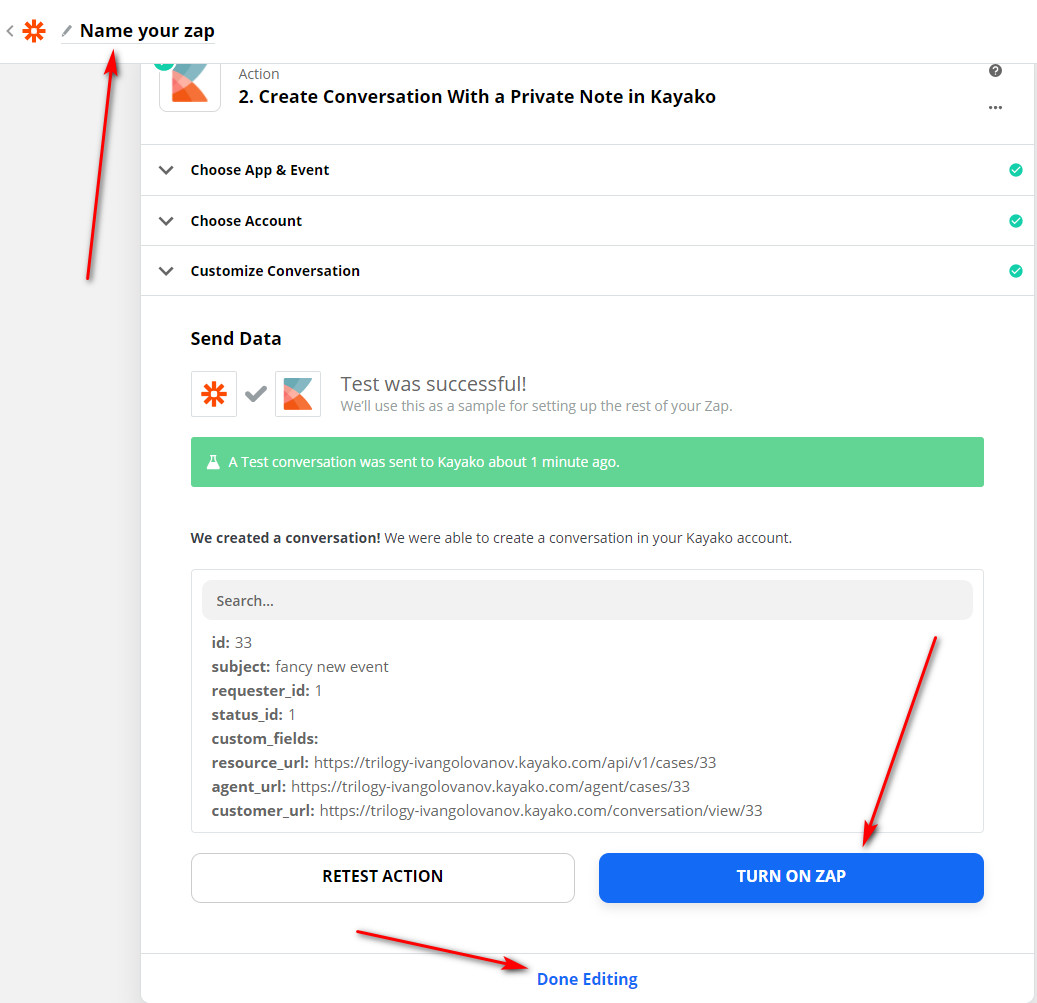
- Similar to the Trigger panel you can test action and add optional filters.
- Finally, you can rename your Zap, turn it on, or just save keeping it off.
Google Calendar Integration
The logic of connecting Google Calendar to Kayako follows the same basic steps. Use Google Calendar + Kayako Integrations link to start configuring.
Limitations
Zapier has some limitations that are applicable to integrations with calendars and that you need to be aware of:
- Time limitation mentioned in step 9
- Calendar Even Start trigger will not work more than once for the same non-recurring event, even if you will update the start date for a future date. You need either create a new event or simply switch the Zap off, then back on right away. This process is called "deduplication" in Zapier. Here's some more information on how Zapier uses deduplication.
Confirmation
Once you are done creating and configuring your Zap with the Kayako app and turned it on, the Zap will create new conversations automatically based on the customization that you defined.
ATLAS
Comments