Overview
There is no direct way to automatically forward a conversation as an email from Kayako to an external address. However, there's a nice workaround that will allow you to auto-forward conversations to a specific email address using endpoints and triggers.
Prerequisite
- To add endpoints in Kayako, you will need an administrator account with the 'Manage endpoints' permission.
- To add triggers in Kayako, you will need an administrator account with the 'Manage automations' permission.
Diagnosis
You may find yourself looking for a feature or a configuration that will allow you to set auto-forwarding a conversation to a specific email address. Let's say, you want a copy of that conversation to go to a specific team for review or for documentation purposes only - where the team is not expected to respond or join the conversation.
Yes, of course, you can always use the CC field to send a copy of the conversation to another email address, but this option allows that person in CC to be able to join the conversation or respond to it.
In Kayako, we do not have a built-in feature in the UI that allows this auto-forward action. But you can use email endpoints to specify a particular email address, which Kayako can then send automated messages to. Then, you can create a trigger and specify conditions based on your need that will fire up the rule and send or forward the conversation to the email endpoints.
Please find out more about endpoints at Sending notifications to external systems with endpoints.
Solution
Create an Email Endpoint
Let's say for example you have a third-party billing team that reviews your billing tickets and you would like to forward conversations or requests with billing in nature to this team.
- Sign in to Kayako and go to the admin area.
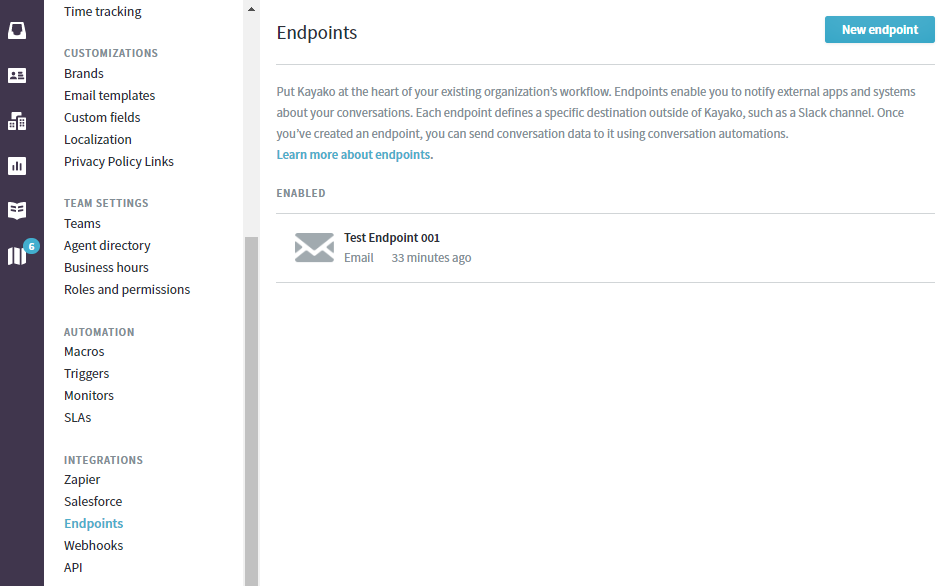
- Click the Endpoints link on the sidebar menu under INTEGRATIONS.
- Here you'll see a list of any endpoints that have already been created in your Kayako. Click the New endpoint button to create a new one.
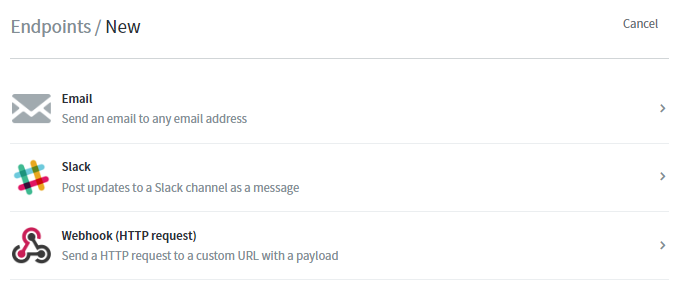
- From here, your options vary based on the type of endpoint you're creating. For this exercise, we are creating an email endpoint so select Email.
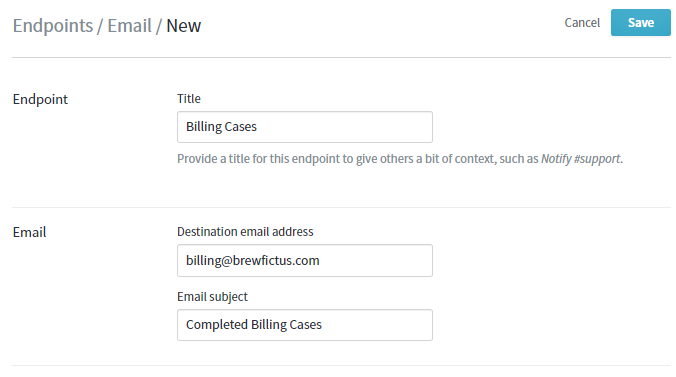
- Enter the information for the following fields:
- In the Title field, add a descriptive title for your endpoint.
- In the Destination email address, add the email you'd like to send your data to.
- In the Email subject field, add a subject for the emails you'll be sent to this address.
Note: You can use placeholders in your subject lines.
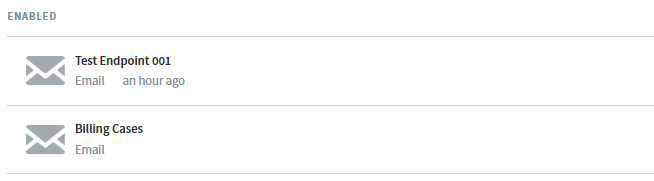
- Click the Save button when done. Once the email endpoint has been created, it will show up on the list of enabled endpoints as shown below. You may now proceed to configure a trigger.
Create a Trigger
Once the email endpoint has been established, you need to create a trigger that will auto-forward the conversations to the email address you have specified on the endpoint.
- Sign in to your Kayako and go to the admin area.
- In the sidebar, click Triggers under AUTOMATION.
- Click the Add new button.
- In the Rule Title field, add a descriptive title.
NOTE: It's essential to use a good naming convention so you can keep track as you add more and more automations.
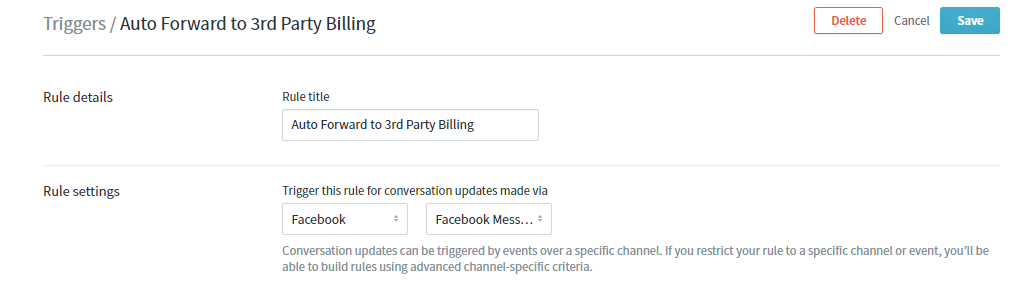
- In the Rule settings sections, you can specify to which channel this rule will be triggered - e.g., only conversations coming from Facebook.
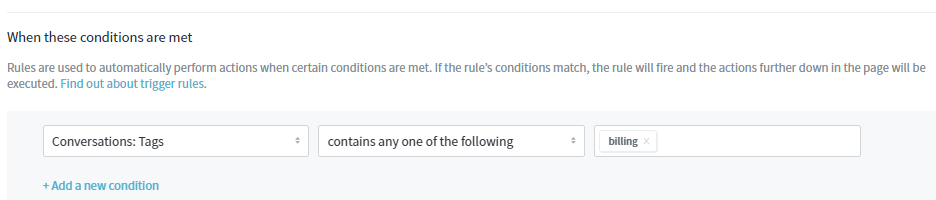
- In the 'When these conditions are met' section, set the following:
- From the Select a condition drop-down, choose
Conversations: Tags. - In the next drop-down field, select
contains any one of the following. - In the blank field, type whatever tag you want to use for these cases - e.g.,
billing.
- From the Select a condition drop-down, choose
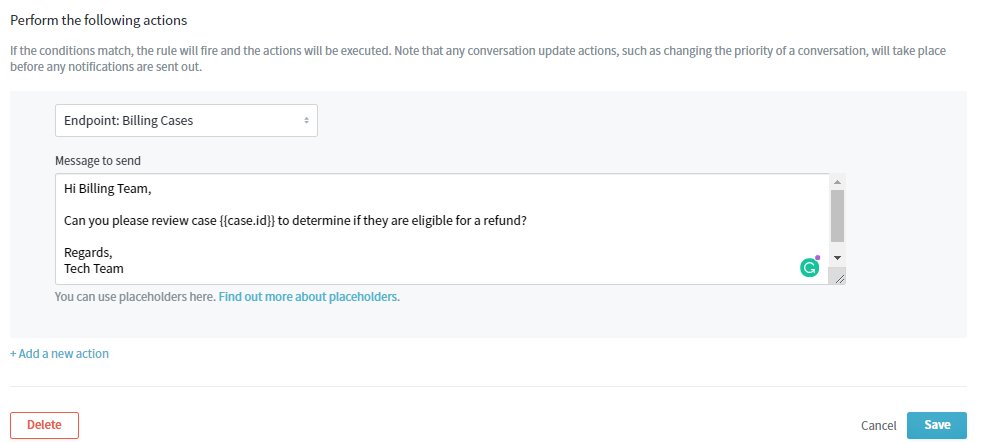
- In the 'Perform the following actions' section, set the following:
- select the endpoint you created earlier, in this case
Endpoint: Billing Cases. - In the message to send box, enter the message you want to send to the recipient. You can use placeholders in your message.
- select the endpoint you created earlier, in this case
- Click the Save button to create the Trigger.
And that's it! You have successfully configured the automation. All you need to do now is to update every conversation by adding the tag you used in your trigger conditions - in this example, the tag is billing. Remember, you may use any "tag" you want or you may also play around with the rules when creating triggers depending on your need.
To learn more about tags, please visit the Adding Tags in Kayako article.
Confirmation
Once the endpoint and the trigger have been established, every time you add the tag specified on the trigger you created earlier to a conversation, a copy of that conversation will be forwarded to the email address you specified on the Endpoint.
ATLAS
Comments