Overview
We've built a powerful integration with Zapier, leveraging all of their platform's great features. Once you've signed up for a Zapier account, you can add the Kayako app and get to automating.
In this article, we'll give you a quick rundown on how Zapier works, and walk you through the steps of creating an automation recipe – also known as a Zap – with the Kayako app. We'll also link you off to additional resources that will help you build your first Zap.
Diagnosis
Zapier (pronounced zap-ee-er; as in "Zapier makes you happier!") is an app integration service that lets you build automations across over 700 apps, such as Slack, Salesforce, Atlassian JIRA, Trello — oh, and Kayako. And the best part? Building powerful automated workflows that span multiple apps can all be done without any code or developer resources.
Understanding How Zapier Works
Your first step to using Zapier is to sign up for an account. Basic accounts are free, and advanced accounts start at $20 per month. Once you've signed up, you can find the Kayako app in the catalog and add it to your account.
As you're getting started, you can browse through their extensive catalog of apps. Chances are good that you'll see a lot of familiar faces in the crowd. You'll need to authorize Kayako, and any other apps you want to use, by logging in with your account credentials. From there, you can start building Zaps that can move and sync your data across your favorite apps.
Each Zap is built using a combination of the following elements:
- Triggers — changes or updates within an app that you can specify as the beginning of a Zap workflow.
- Actions — specific tasks within an app that Zapier will perform, whenever a Zap's trigger occurs.
- Searches — an optional workflow step that tells Zapier to look up information in an app, which it can then use in an action.
- Filters — a way to specify additional criteria that narrows down the conditions for when a Zap should run.
Using these four elements, you can build Zaps that span a huge range of complexity.
An example of a simple Zap might be:

The trigger for this Zap is anytime a new customer is added to your Stripe account. The action is that Zapier will create a new user account for that customer in Kayako.
An example of a more complex Zap would be:

Here, the trigger is when a new conversation is created on Kayako, but it's filtered down so it will only trigger on conversations where the priority is set to 'High'. The action will tell Zapier to use Pushover to send push notifications to specific agents with the Kayako conversation details.
You can use either of those Zaps right away, by clicking on the Use this Zap button. We also have a variety of other pre-built Kayako Zaps, which you can find in our article about Zap templates. You can also learn more about creating your own Zaps from scratch in Zapier's excellent guide to creating a zap.
Although there's virtually no end to the kinds of Zaps you can build, configuring the Kayako app will always follow the same basic steps. Below we'll go through an example of how to set up a Kayako trigger for a new Zap.
Power User Tip: Running Code on Zapier
Even though a big selling point of Zapier is the ability to integrate apps without touching any code, Zapier lets you run custom Javascript and Python code on Zapier as part of a Zap. This lets you build extraordinarily powerful workflows using Zapier, all in the cloud. For example, you can transform data and interact with more complex APIs that Zapier doesn't support out of the box, such as your own backend systems.
Prerequisite
- You'll need to have the credentials for a user account in Kayako with at least agent privileges in order to authorize the Kayako app from Zapier.
- An active Zapier account.
Solution
- Log into your Zapier account.
- At the top of the page, click MAKE A ZAP.

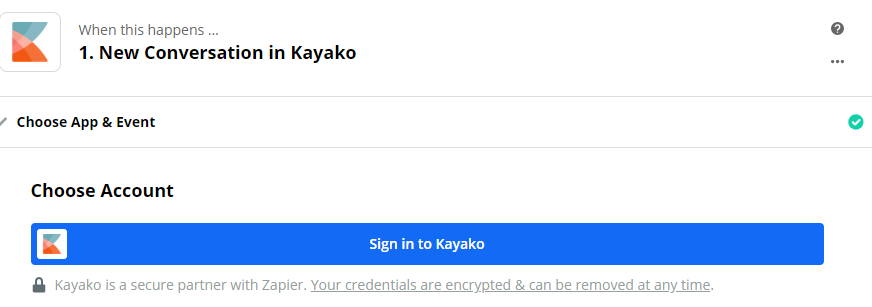
- The first step is to choose the app you want to use to define your trigger. Search for and select the Kayako app.

- You have a variety of choices for the type of Kayako update to use as a trigger. For this example, though, let's keep it simple. Select New Conversation and click Continue.
- If this is your first time using Kayako in a Zap, you'll need to click Sign in to Kayako. If not, then proceed to step 9.
- Enter your Kayako domain name
yourdomain.kayako.com(replacing yourdomain with the configured name or domain for your Kayako instance), and the Kayako credentials (email address and password used to connect to Kayako). Then click 'Yes, Continue'.
NOTE: Two-factor authentication will not allow you to connect to Kayako. If you have it enabled on this Kayako user account, you need to disable it before you continue.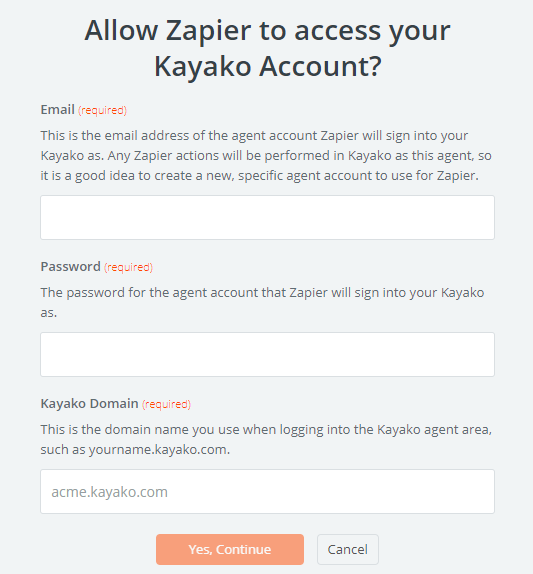
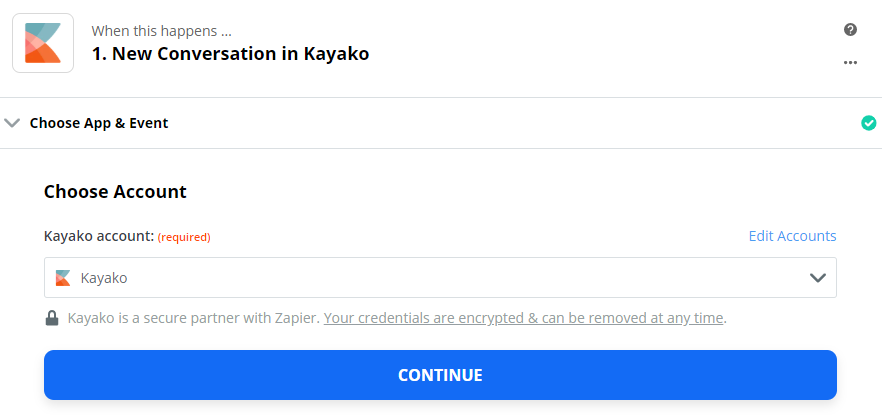
- Once connected, it will take you back to the same screen in step 5 but this time with the CONTINUE button instead of the Sign in to Kayako button. So click CONTINUE
.
- The next window will ask you to test the trigger. So click Test trigger.
NOTE: If it has trouble connecting such as returning an "authentication failed" error, check the email and password you entered and make sure you are entering your Kayako login credentials.
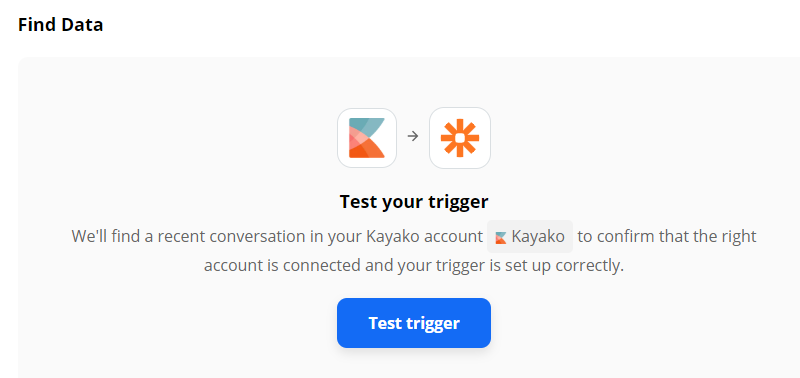
- If the test is successful, it would tell you that it found a conversation. From there, click the Continue button.
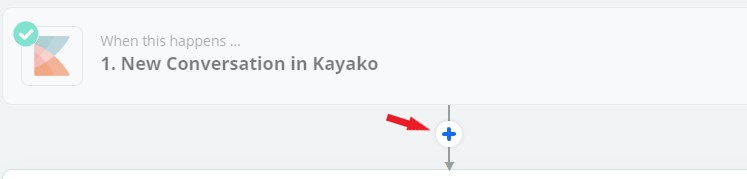
- Next, let's add a filter. Click the + icon.
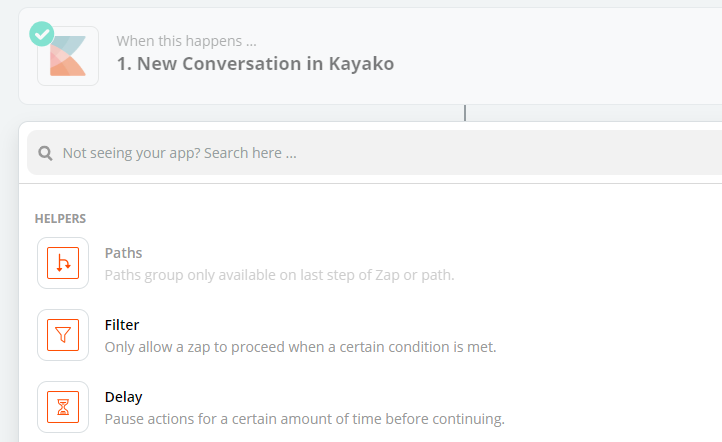
- Next, search for Filter and click the Filter button.
- On the next screen, you'll be able to define criteria to limit which new conversations should trigger your Zap. Let's limit our Zap to a particular conversation priority. From the first dropdown, select Priority from the list of conversation attributes.
- From the second dropdown, select (Text) Exactly Matches.
- In the final textbox, enter
High. This will limit the Zap to new conversations at theHighpriority level.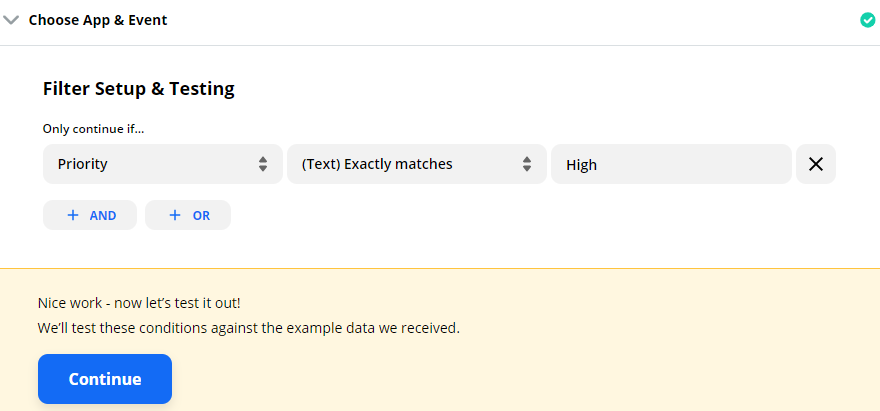
- You can add as many additional criteria as you like, but let's stick with just one filter for now. Click the Continue button.
NOTE: You may click the Filter Setup & Testing to check if your criteria are returning the results you want. If your sample conversation has a priority level that is anything other thanHigh, it would say "Your Zap would not have continued." If you check the sample data, it would tell you that reason. But this is okay as long as it's capturing the right filter which is in this example, the "Priority" level of the conversation. You can play around with it and change the filter to align with the sample conversation. - Your next step is to select an app for your action. From here, you can go in a million different directions. Search for and select the app you want Zapier to perform an action in, and configure your action options.
NOTE: If you need help with other apps, Zapier's help and support pages have lots of app-specific documentation. - When you've configured your action(s), you may:
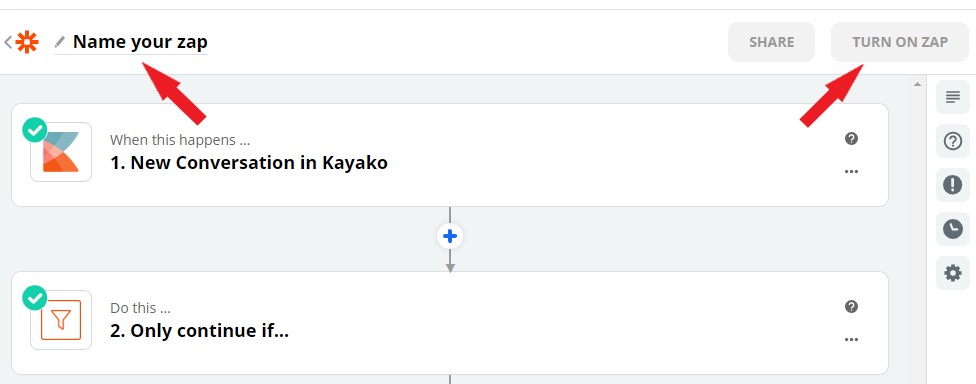
- Add a descriptive name for your Zap, so it will be easy to pick out from the library of Kayako Zaps you'll be building.
- Click the toggle button to TURN ON ZAP.
Confirmation
Once you are done creating your Zap with the Kayako app, once it turns green and reads 'Your Zap is on', you're all set! The Zap will automate whatever actions you define on the criteria.
There's so much more you can do with our Zapier integration. Feel free to play around, or head over to our article about our pre-built Zap templates for some inspiration!
ATLAS
Comments