Overview
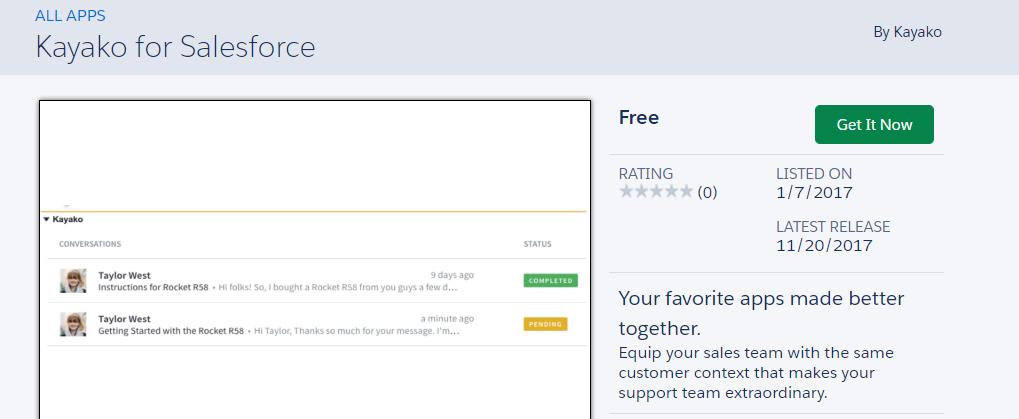
For teams that rely on Salesforce for their CRM, the Kayako for Salesforce app is the best way to integrate your customers' sales interactions with their Kayako support journey. By adding the Kayako app to your Salesforce account, you can easily and securely share data between the two systems, giving your team a complete picture of your customers' experience.
Diagnosis
The Kayako for Salesforce app works in two directions:
-
On the Salesforce side, it allows you to display recent Kayako support conversations directly on your contact screens. For example, say a customer has a high-priority conversation in Kayako that's waiting on a resolution. With the Kayako for Salesforce app, that information will appear right on the customer screens, equipping your account managers with the insights they need to approach your customers most effectively.
-
On the Kayako side, the app will display recent Salesforce activity on customer's conversations and journeys. For example, let's say your support team has an open support conversation with a contact that your sales team has marked as a high-value lead. That information will automatically be displayed within the support conversation, so your agent can prioritize the conversation as needed.
Understanding how Kayako for Salesforce works:
The Kayako for Salesforce app is available through the Salesforce AppExchange. From there you can install it into your Salesforce account.
Once it's installed, there are three more steps to getting it up and running:
-
Configuring the Kayako for Salesforce app, allowing Salesforce to talk to your Kayako. (see the solution section below)
-
Modifying one or more of your Salesforce page layouts to display information from your Kayako conversations.
-
Enabling the Send Events to Kayako option, so Salesforce will push important context over to your Kayako conversations and journeys.
All of these configuration steps take place from the Salesforce side. You won't need to do anything in Kayako to get it talking to Salesforce.
Below, we'll go through the installation and configuration of the Kayako for Salesforce app steps in detail, to get you up and running with Kayako for Salesforce.
Prerequisites
- To configure the Kayako for Salesforce app, you'll need a Salesforce user account with the 'Customize Application' permission.
- During the installation and configuration process, you will also be required to log in to an admin Kayako user account with the 'Manage apps and integrations' permission.
Solution
Installing and Configuring the Kayako for Salesforce App
Your first task is to install the app to your Salesforce instance from the AppExchange. From there we'll go through authenticating the app and setting Kayako up as a new remote site in Salesforce.
-
Click the Get it Now button.
-
Click the Login to the AppExchange button.
-
Log in with your Salesforce credentials, if you haven't already.
-
Click the Install in Production button to add the app to your live Salesforce account.
NOTE: If you'd like to experiment with the app in a non-production environment, you can click Install in Sandbox instead.
-
Review your account information. Check the box saying you agree to the terms and conditions, and click the Confirm and Install.
-
Enter your Salesforce credentials, and click the login button.
-
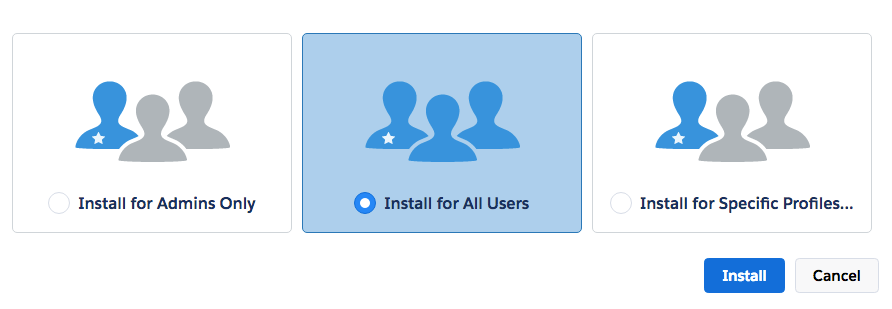
Next, you'll need to select which of your Salesforce users you want to install the app for:
-
Select Install for All Users to make Kayako conversation details available to all your Salesforce users.
-
Click the Install button.
-
The installation will take a few moments. When it's done, you'll receive a confirmation email, and you'll be redirected to the 'Installed Packages' of your Salesforce account. You should see 'Kayako for Salesforce' on the list:

-
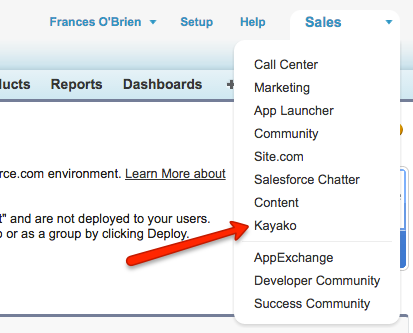
Now that you've installed the app, time to configure it. From the top right dropdown, select 'Kayako':
-
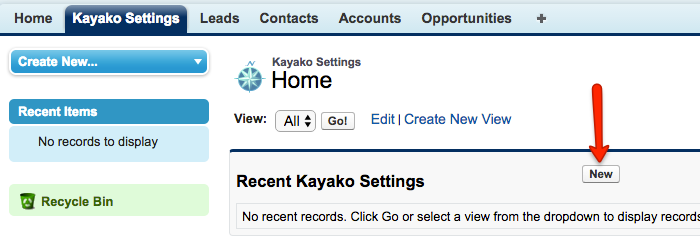
Switch to the Kayako Settings tab.
-
Click the New button:
-
Enter your Kayako credentials, which Salesforce will use to authenticate the app. You'll want to use an administrator account to log into Kayako (see prerequisite section).
-
In the Username field, enter your Kayako username (email address).
-
In the Password field, enter your Kayako password.
-
In the Domain field, enter the full address for your Kayako instance, for example, 'yourcompany.kayako.com'.
IMPORTANT NOTES:- The domain should be without "https://" For example, if your domain is https://salesforce1.kayako.com you should enter salesforce1.kayako.com in the domain field in salesforce.
- Two-factor authentication will not allow you to pull information from Kayako. If you have it enabled on this Kayako user account, you need to disable it.
-
-
Check the Active box to enable Salesforce to use these credentials.
-
Click the Save button.
-
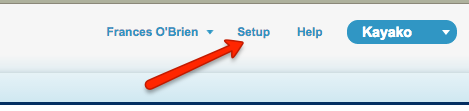
Now that you've saved your credentials, it's time to tell Salesforce where to find your instance. Click on Setup.
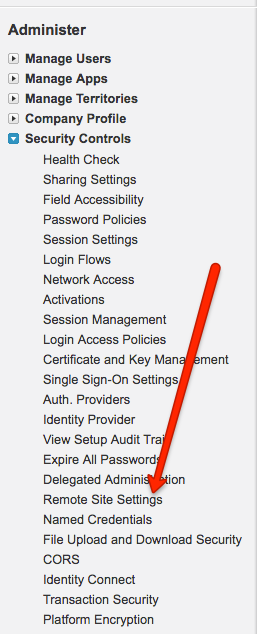
- From the sidebar, under the 'Administer' heading, open Security Controls and click Remote Site Settings.
-
Click the New Remote Site button.
-
Here, you'll add your Kayako instance as one of Salesforce saved remote sites. In the Remote Site Name field, type in a name for your site, for example, 'YourCompanyKayako'.
-
In the Remote Site URL field, enter the full URL for your Kayako instance, for example, 'https://yourcompany.kayako.com'.
-
Leave the Active box checked.
-
Click the Save button.


Confirmation
And that's it! Your Salesforce account is now fully equipped to talk to your Kayako instance. You can configure it to display recent Kayako support conversations directly on your contact screens by adding Kayako's conversation overview to your page layouts.
You can set the app to display recent Salesforce activity on customer's conversations and journeys by enabling Salesforce to send event notifications to Kayako.
ATLAS
Comments