Overview
Automatic Identity Verification lets your customers start messenger conversations with your team seamlessly when they access it through your third-party website or app. After you have enabled it, when your customer is logged into your website or app, the Messenger will be able to identify them without asking for their email address.
Prerequisites
- To generate the Identity Verification token for Messenger, you will need an administrator account with the 'Manage channels' permission.
- Development Team - Most of the labor involved in setting up the identity verification will need to be done by your website or app development team.
Diagnosis
When your customer is logged in to your website or app and wants to chat through the Kayako Messenger, they will be prompted to enter their email address to start chatting. This is the same behavior when they use messenger from your Help Center. This behavior can sometimes be annoying to customers especially if they are visiting your third-party website and they have already signed in to it.
The email address that the messenger is asking is required for authenticating their session in Kayako unless you enable automatic identity verification, and there is no other way around it.
If you don't want your customer to be prompted to enter an email address when using messenger, generate the web device token necessary for your development team to enable automatic identity verification. The details, including generating its token are available from within the Kayako admin area.
Solution
- Sign in to the admin area.
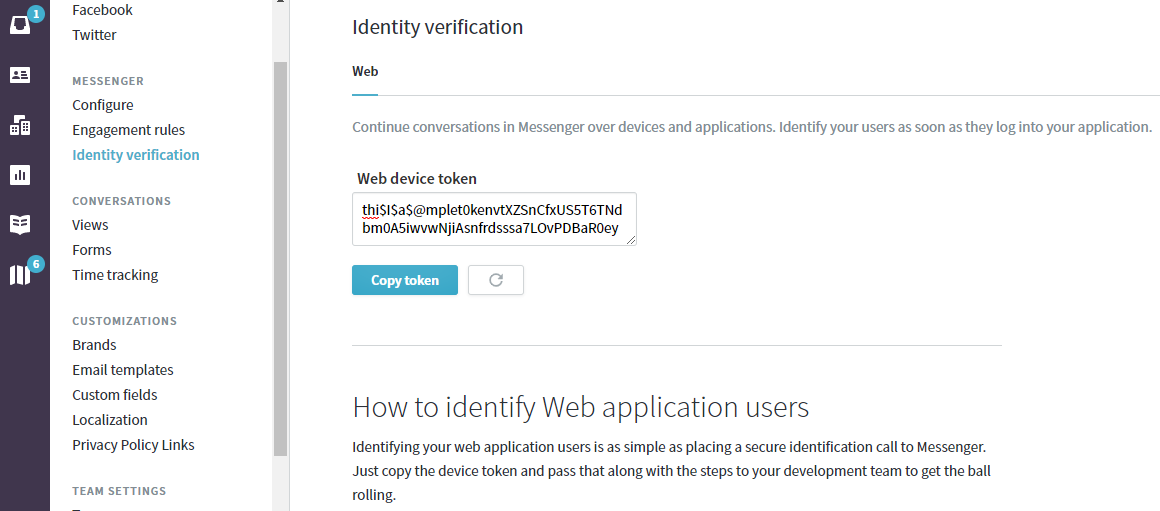
- Click on Identity verification in the sidebar under Messenger.
- NOTE: Here, you will see the Web device token, along with instructions for how to add identification calls for logins and logouts to the code of your website or app.
- NOTE: Here, you will see the Web device token, along with instructions for how to add identification calls for logins and logouts to the code of your website or app.
- Copy the Web device token by clicking the Copy token button and save it to a note or word pad.
- Copy the instructions under the 'How to identify Web application users' section save it to a note or word pad.
- Share the Web device token (from step #3) and the instructions (from step #4) with your development team.
- If you ever need to reset your token, you can come back to this page, click the Refresh button (as seen below) and share the new token with your developers.
 ,
,
Confirmation
Once a secure identification call to the Messenger has been placed accordingly by your development team, your customers will no longer be required to enter an email address to chat using the messenger from your website.
Learn more about calling Messenger methods from our developer site.
ATLAS
Comments