Overview
If a field does not show up in the form in your Help Center, that field is either not added to the form or not visible to the customer. Kayako gives you lots of flexibility for how you collect information by providing a dozen different field types. It also gives you the flexibility of whether you want to allow your customers to see and edit a specific field or not.
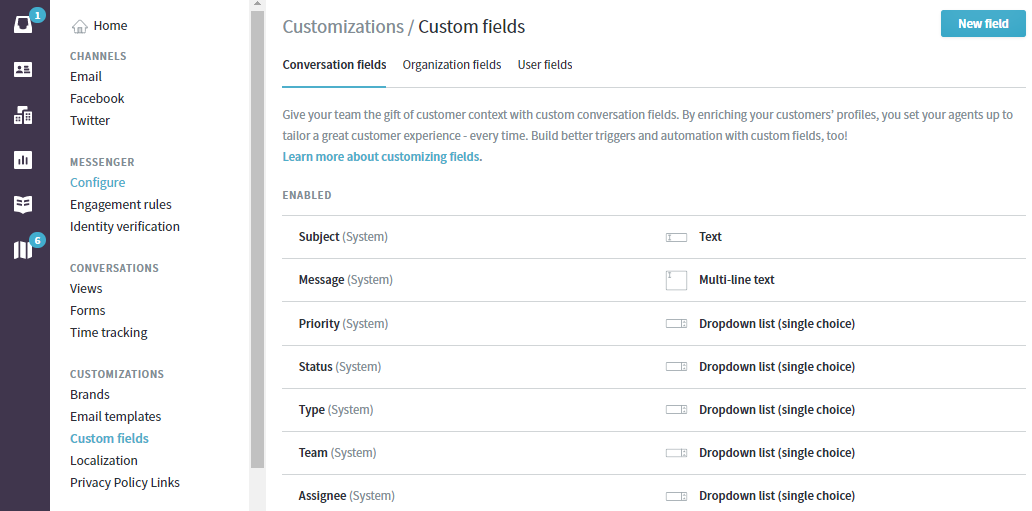
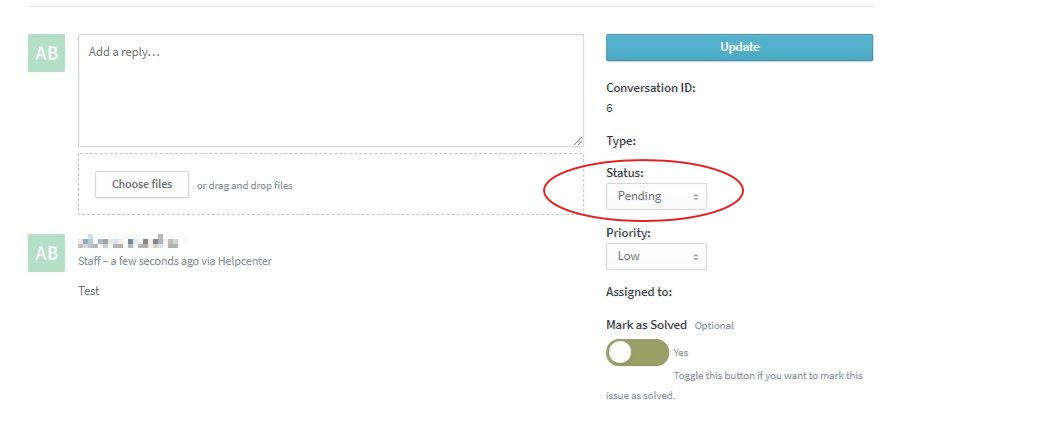
Some fields particularly the system fields (e.g., Status, Priority, etc) are not visible to customers by default and are only visible to your staff in the agent area. There are reasons why these fields are hidden to customers. For example, the Status field, which controls the workflow of the conversation is hidden because you don't want customers to make changes to the conversation status which could mess up your SLA timers.
But for whatever reason, you can always edit the settings to make a certain field visible and/or editable to customers by following the steps in the solution section below.
NOTE: See the Managing the Fields in the Conversation Submission Form article if the field has not been added to the form yet.
Prerequisites
- To add or edit fields in Kayako, you will need an administrator account with the 'Manage conversation fields' permission.
Solution
- Sign in to Kayako and navigate to the admin section.
- Under Customizations, click Custom fields. Then select the field you want to edit.
- In the Customer Settings section, mark the Customers can see this field option. Enter the desired field title and description for your customers.

- Check the box for Customers can edit this field to allow customers to change the value of the field.
- If you are editing a custom field, make sure the field is enabled. If it's a system field, this option/toggle is not visible since system fields are automatically enabled.

- Click on the Save button to implement the changes.
Confirmation
The field to which these options are enabled will be visible and editable to customers (end-users) in your Help Center.
ATLAS
Comments