Overview
A 'Cascading Select' custom field is a type of field where a drill-down menu is available to take users through tiered options (or sub-category), where they can make multiple selections. When a user selects a category or tier, for example, an equipment type, it will give them sub-categories such as a list of variants for that equipment type.
Diagnosis
Using the 'Cascading Select' field type will make your customers' life easier by providing them with filtered drill-drown options and also improve their experience and, as a result, you will get better information to resolve their issues and concerns.
You'll create these fields the same way as the other multi-option fields. The difference with cascading select fields is that you can add tiered groups of options. You'll separate each tier of options using a \.
For example, let's say Brewfictus, our fictional coffee equipment company, wants to create a 'Product' field for their customers to select the type of equipment they need help with. They could use a cascading select field with the following options:
- SlowBrew\Hario v60 Pourover
- SlowBrew\Aerobie Aeropress
- SlowBrew\Yama Siphon Brewer
- Espresso\Gaggia\Evolution 16100
- Espresso\Gaggia\Evolution 16103
- Espresso\Gaggia\Evolution 16109
- Espresso\La Marzocco\Strada EE
- Espresso\La Marzocco\Strada EP
- Espresso\La Marzocco\Strada MP
Note: You can only link a maximum of one hundred (100) options to a field.
Prerequisite
- To add custom fields in Kayako, you will need an administrator account with either the 'Manage conversation fields' or 'Manage custom user and organization fields' permissions, depending on the type of field you're creating.
Solution
To create cascading select fields:
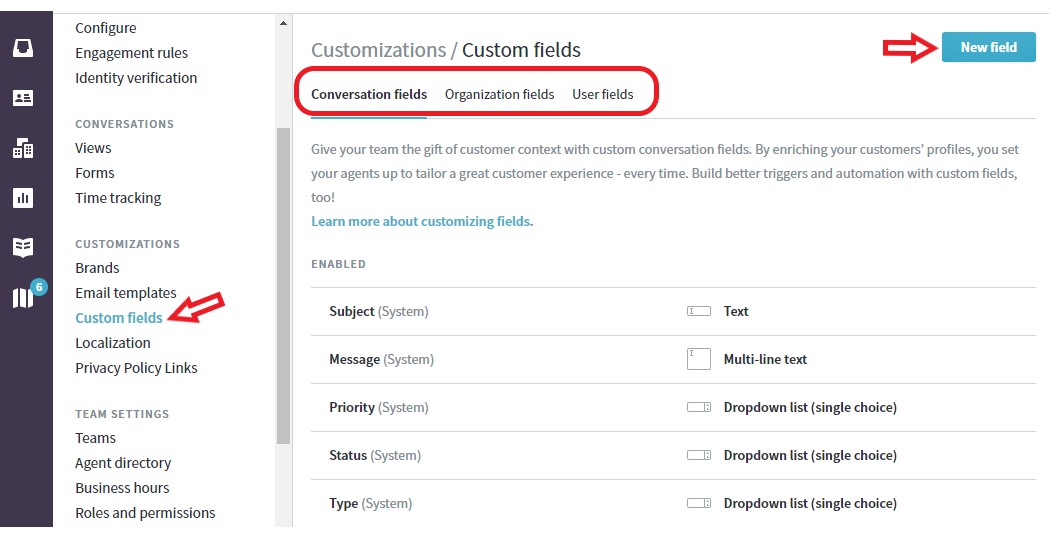
- Sign in to Kayako and go to the admin area.
- Depending on the kind of field you're creating, click either Conversation fields, Organization fields, or User fields on the sidebar.
- Here, you'll see a list of system and custom fields that have been created already. Click the New field button to start customizing a new one.
- Choose the Cascading select option.
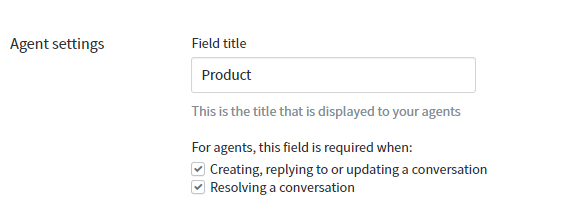
- In the Field title text box, enter a descriptive title for the field.
NOTE: This is only an internal title — it will not be visible to your customers. - If you're creating a conversation field, you can make it mandatory for your agents when updating or resolving a conversation. Just check the Creating, replying to, or updating a conversation and/or the Resolving a conversation box.
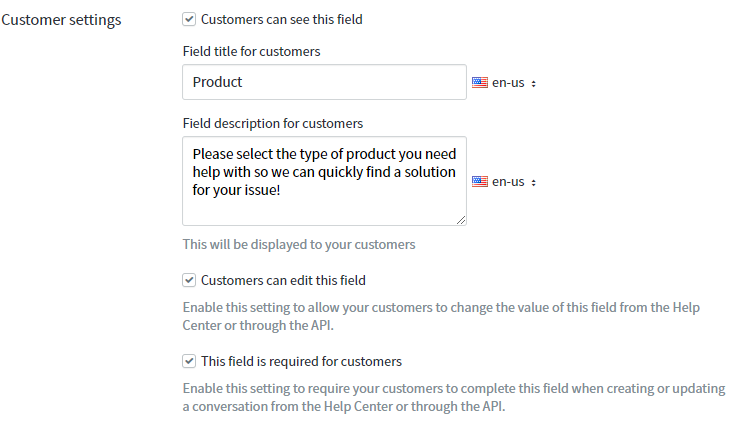
- Check the Customers can see this field box to make the field visible to your customers.
- In the 'Field title for customers' text box, enter a label for the field.
- In the 'Field description for customers' text box, enter a brief description of the field.
- You can make conversation and user fields usable by your customers as well. Check the Customers can edit this field box to enable your customers to use the field, and the 'This field is required for customers' box to make it mandatory.
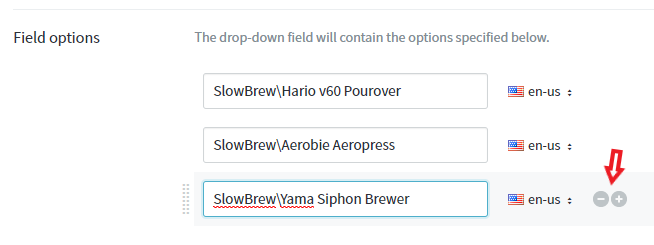
- Enter the text in the Option title field. Again, you'll separate each tier of options using a
\. (See examples in the Diagnosis section above.)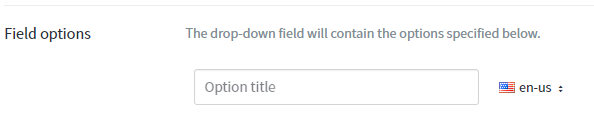
- To add more options, hover to the right of the field, and click the + button to add more. (Click the - button to remove an option.)
- When you've finished, click the Save button.
Confirmation
Once your field is created, any new field you create will be available to add and edit on either forms, organization pages, or user profiles. They'll also be available when building SLAs, and other automations. If you're on the Growth, Scale, or Enterprise plans, and you've enabled multiple languages for your Kayako, you can add translated names, descriptions, and values for your fields.
The finished field will look like this:
ATLAS
Comments