Overview
If you have allowed certain email addresses or domains in your safelist but you are still having problems with those emails ending as spam in your suspended view, you can reduce the spam filtering aggressiveness to match your needs. The Kayako spam filter checks for messages that can't be authenticated or verified, messages from disabled or blacklisted addresses, and messages considered as spam.
Before you reduce the spam filtering aggressiveness, you need to check it's current score value. The good news is, you can run the GET URL API endpoint on your browser if you are signed in to an admin account in Kayako.
Prerequisites
- To edit any of the security and user registration settings, you will need an administrator account with the 'Manage system configuration' permission.
- To adjust the spam aggressiveness in Kayako, you need a knowledge of the API (application programming interface).
Solution
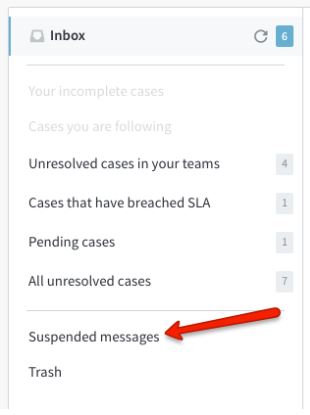
Kayako has a spam filter to help reduce spam generated conversations. If the Spam Filter catches an email, you can find it under the Suspended View. You have the option to allow desired e-mails to pass through the filter by adding the email address or domain in the safelist.
As mentioned above, you can add the email address or domain in the safelist to bypass the spam filter. However, if this procedure is not enough and you keep on getting that same email in your suspended folder despite adding it to the safelist, you can change your spam settings using APIs. Or, if you are having problems receiving a huge amount of spam despite adding the email address or domain in your blacklist, then you can adjust the settings to make it more aggressive.
The spam filter aggressiveness settings can be changed from one (1) to ten (10).
- 1 = more aggressive checks
- 10 = spam filter effectively off
In this case, if your client's emails are getting stuck in the suspended folder when they shouldn't, you would need to increase the value. Likewise, if your Inbox is starting to pile up Spam emails, you would need to reduce the value.
In the procedure below, we are going to use the Postman API client to change the spam settings.
To change the spam filter aggressiveness perform the following steps:
- Before you adjust your spam settings, check your current score first. Log in to Kayako as admin and open a new tab on the same browser you are logged in.
- In the newly opened tab, paste the GET URL API endpoint request in the address bar and hit enter. The API endpoint follows this pattern:
https://DOMAIN.kayako.com/api/v1/settings
NOTES:- Replace the DOMAIN in the URL above with your actual domain name.
- If you are successful, you should receive the Status: 200 at the very top of the page.
{ "status": 200, "data": [ { "id": 71, "category": "social", "name": "account_connected", "is_protected": false, "value": "0", "resource_type": "setting" }, - If you received a different code or an error, check your URL and try again.
- On the result page, look for the "spam_score" under the "email" category (use CTRL+F to find).
NOTES:- The numerical figure next to the "value" is your current spam settings score, in this example, it's at 5.
- If this value does not meet or match your needs, please proceed to the next step below.
{
"id": 60,
"category": "email",
"name": "spam_score",
"is_protected": false,
"value": "5",
"resource_type": "setting"
},
- Adjust the spam score. Open the Postman API Client.
-
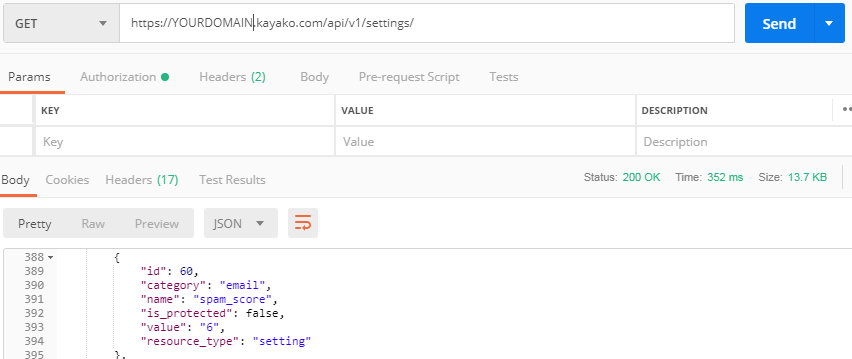
As seen in the screenshot below, we have set Postman to the following:
- Select the API HTTP Method to PUT.
- Use the API endpoint
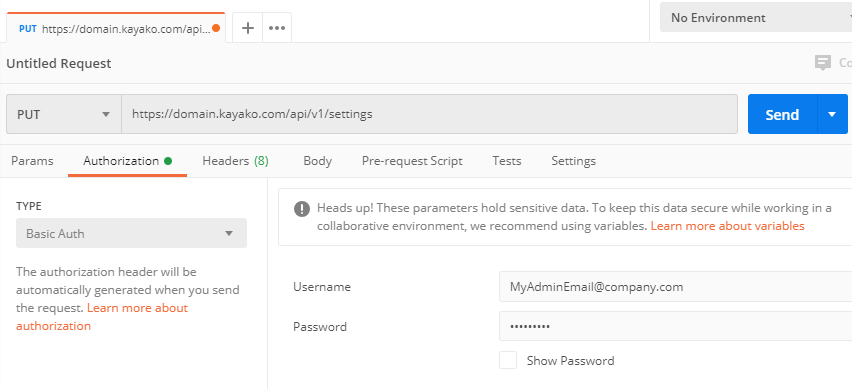
https://DOMAIN.kayako.com/api/v1/settings. Replace the DOMAIN in the URL with your actual domain name. - In the Authorization tab, select Basic Auth from the Type drop-down menu on the left panel.
- Enter your Kayako admin email address and password in the username and password box on the right panel.
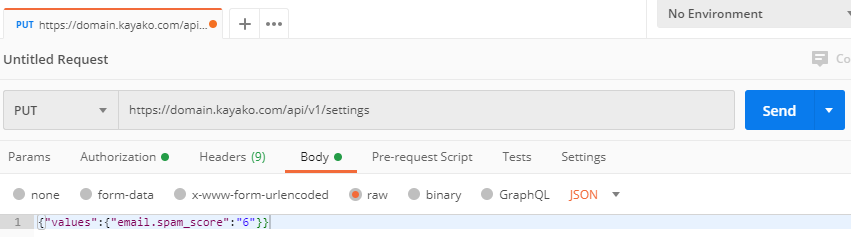
- Click the Body tab. In the body of the request, add the following as "raw":
{"values":{"email.spam_score":"6"}}NOTES:- Make sure you select the type as JSON (application/json), as by default that type is not selected.
- Adjust the number next to the "spam_score" depending on your need. In the example below, it will be set to "6" which is less aggressive.
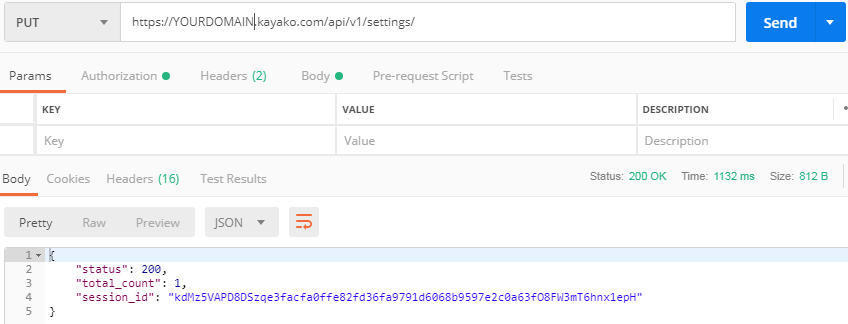
- Click Send and it will return Status 200 OK for a successful request. If you received a different code or an error, go back to step 5, check the information you entered and try again.
Confirmation
To confirm that the spam aggressiveness settings have been changed, you have two options:
- Option 1 (Using the browser): Follow steps 1 to 3 in the Solution section above.
- Option 2 (Using Postman): Check your current spam score with the GET command while on the same Postman window. Just make sure to change the method to GET and remove the content in the body and hit send. Then look for the "spam_score" under the "email" category from the result.
ATLAS
Comments