Overview
Whether your team offers support in one or multiple languages, you can set a default language for Kayako from the Admin area. If you provide multi-lingual support, Kayako retains your choice of default language, while deferring to any individual language preferences set by your agents or customers.
While setting your default language, you can also set the default timezone and time format for Kayako.
Prerequisite
- To set the default language and time settings in Kayako, you will need an administrator account with the 'Manage localization' permission.
- Learn more about enabling other languages in Kayako by visiting the Enabling Multiple Languages for Your Customers and Agents article.
Solution
- Sign in to Kayako and go to the Admin area.
- Under Customizations, click on Localization in the sidebar.
- Click on the Settings tab at the top of the screen.

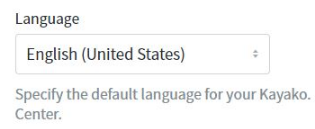
- From the Language drop-down menu, select your default language.
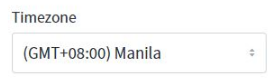
NOTE: If you have more than one brand, make sure you set the intended language in each Brand settings by navigating to Brands and clicking Edit on each one of your brands. The languages you enabled in the Languages tab will be available for selection here. - From the Timezone dropdown, select your team's default timezone.
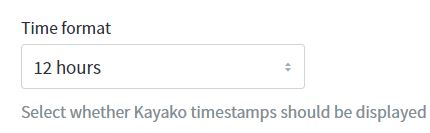
NOTE: Users can still change their timezone from their user profiles. - From the Time format drop-down menu, choose if you want Kayako to display the timestamp using the 12 hours or 24 hours format.
- When you have made all the changes, click the Save button.
Confirmation
Once you have set your default language, timezone, and time format, Kayako will always display these default values on the said elements. Users can still change their own language and time settings from their user profile in the Help Center or from the agent area for your staff.
ATLAS
Comments