Overview
Each Help Center article is placed inside a particular section under a category. You can add or create articles and edit them with the built-in rich text editor. If you need to make edits directly to an article's HTML, you can click the <> button on the toolbar to view the source code.
Kayako's Help Center organizes self-service articles into two levels of hierarchy. Categories are at the top, with sections beneath them. Categories are the big headings on the front page of your Help Center, and sections the subheadings that appear beneath them. Every article is published within a specific category and section, and you can rearrange the order in which any of those things appear.
In addition to your public self-service content, you can use the Help Center's visibility restrictions to host internal articles that are only available to certain customers or agents. Choose whether articles are visible to only staff members, to only logged-in customers, or to anyone visiting the site by modifying the visibility at the section level.
Editing your categories, sections, and articles are all done directly from the Help Center. Once you are logged in, you will see content editing controls appear throughout your content pages, allowing you to make updates on the fly.
Articles are edited with a rich text editor, with the option to edit the HTML source directly, if needed. You can supply keywords for each article, to enhance its findability from the search bar.
NOTE: When a user is disabled, all articles which the user created will remain available and editable from the Help Center.
Prerequisite
- To add or edit articles in Kayako, you will need an administrator or agent account with the 'Create and edit articles' permission.
Solution
To add a new article:
-
Sign in to the Help Center.
-
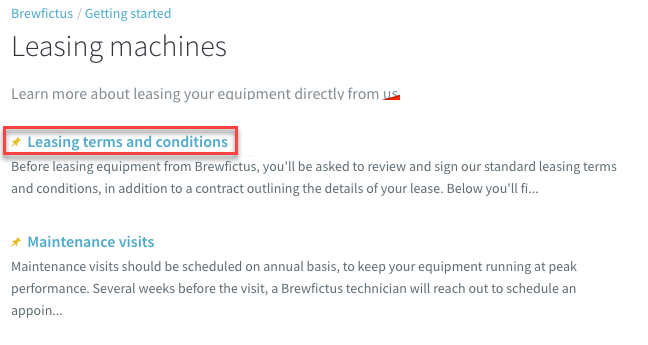
As an example, we can create an FAQ article about updating credit card details. Click the Frequently Asked Questions heading to go to the category page.
-
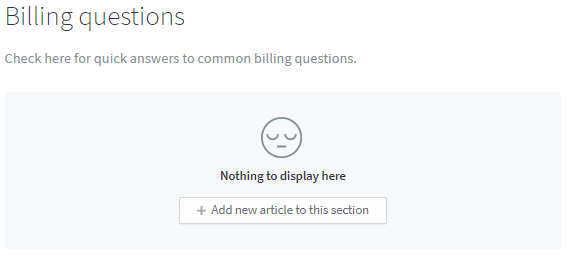
Click the Billing questions section heading to go to the section page.
-
Click the Add new article to this section button to start working on your new article.
-
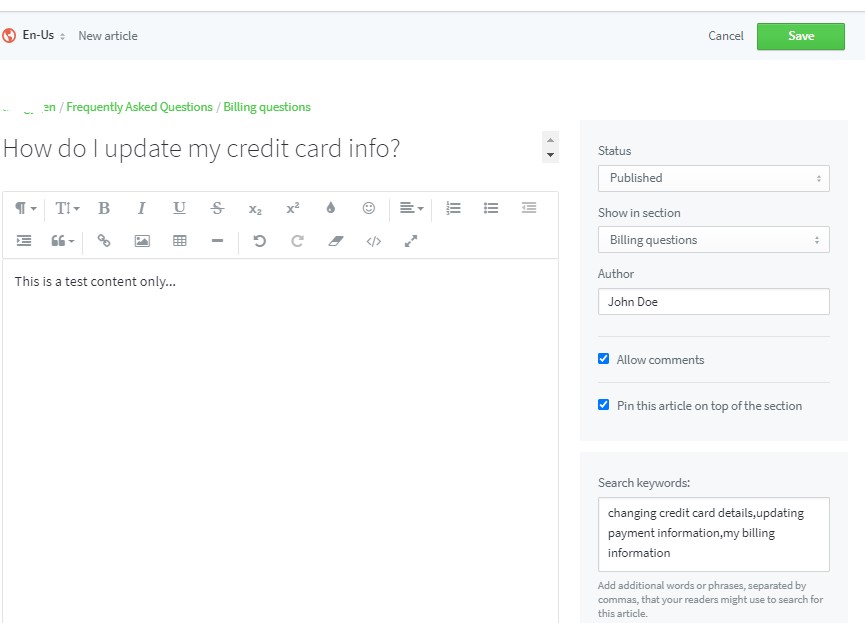
In the Add a title field, as an example, type
How do I update my credit card info? -
Next, in the main text area, add your article content.
-
When you are done, select Published from the Status drop-down, to make the article live on the Help Center.
Note: You can also select Draft if you want to save your article, but not publish it yet.
-
Leave the Show in section drop-down set to 'Billing questions'.
Note: You can always come back to this drop-down and select a different section if you need to move the article.
-
Leave the Author field as-is, too.
-
Next, since this is a question we see a lot, check the Pin this article to the top box, which will keep it at the top of the section page, even as other articles are added.
-
In the Search keywords box add
changing credit card details,updating payment information,my billing informationto improve the article's searchability from the search bar. -
Click the Save button to publish your new article to the Help Center.
Confirmation
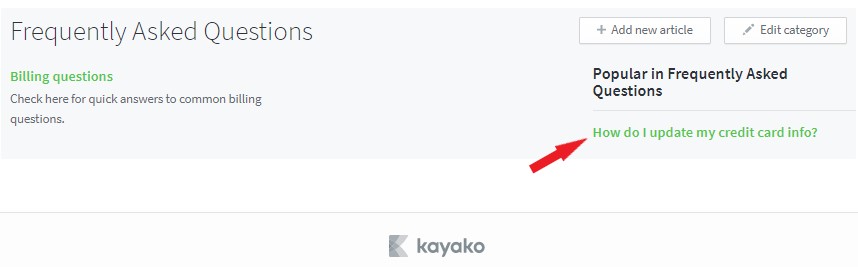
Once the article is created, it will be displayed in the section under a category you created it at. You may also edit the article at any time by selecting it and clicking the 'Edit article' button.
ATLAS
Comments